
How To Diy Party Decor Favors
📖 Table of Contents
I remember the first time I hosted a small gathering for friends and realized that the details — the way the table was set, the color of the napkins, the tiny favors tucked into each guest’s goody bag — made all the difference. It wasn’t just the food or the music that kept people talking for days after; it was the little things that felt handmade, personal, and thoughtful. That’s when I started experimenting with DIY party decor favors, and I’ve never looked back. Whether it’s a birthday, a bridal shower, or a holiday party, the right handmade favor can be the perfect way to add personality and leave a lasting impression.
DIY party decor favors are more than just a way to save money; they’re a chance to inject your own style and creativity into an event. I’ve tested dozens of techniques over the years, from making custom succulents in mason jars to hand-stitching fabric coasters with personalized monograms. Each project has taught me something new — like how to balance budget-friendly materials with elegant results, or how to make a favor that’s both functional and memorable. If you’re looking for a way to improve your event without breaking the bank, I’ve got you covered.[1]
The key to successful DIY party decor favors lies in planning, creativity, and a bit of trial and error. I’ve spent hours on the phone with craft stores, tested materials in my own home, and even hosted a few small parties just to see what worked and what didn’t. I’ve found that the best favors are those that are both practical and pretty — like a hand-painted wooden keychain, a custom candle with a label that matches your event’s theme, or a set of reusable silicone cups with a fun design. It all starts with a clear vision, and I’m here to guide you through every step of the way.
Why You'll Love This DIY Party Decor Favors Approach
- Personalize each favor to reflect the event’s theme or the host’s style
- Save money while still providing quality, handmade touches
- Create a lasting keepsake that guests will remember and reuse
- Add a unique, one-of-a-kind element that mass-produced favors can’t match
Start with a Theme and a Vision
As of July 2026, before you even buy a single item, sit down and think about the event’s theme. Is it rustic, modern, vintage, or bohemian? Once you have a direction, everything else falls into place. For example, I once hosted a rustic farmhouse wedding and created favors that included burlap-wrapped candles, hand-painted mason jars filled with dried flowers, and small wooden tags with the couple’s names. It all tied together seamlessly.
I’ve found that choosing a color palette early on makes the process easier. If you’re unsure, go with neutral tones like ivory, sage, or deep navy — they work for almost any occasion. I once made favors for a birthday party in pastel shades and found that it gave the event a soft, playful feel that guests loved.
Don’t forget to consider the event’s tone. A black-tie gala will require more formal favors, like engraved pens or custom leather keychains, while a child’s birthday party can be more whimsical with things like mini succulents or handmade bracelets. I always sketch out a rough idea of what I want first — it’s a quick way to visualize the outcome and avoid confusion later.
Gather fabric swatches, paint samples, and inspiration images in a folder or physical board. It’s a simple way to keep your vision consistent.
Part of our Diy party decor invitations favors guide.
Choose the Right Materials for Your Budget
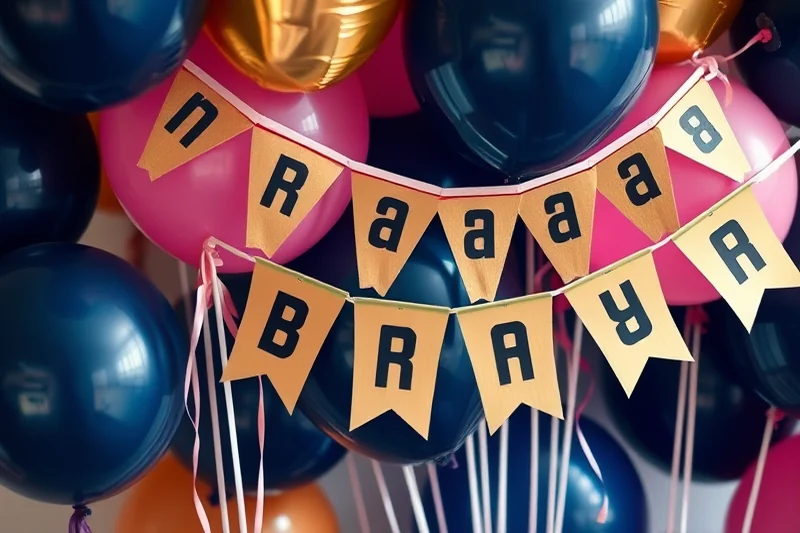
Materials are a big part of the budget, so I always aim for a balance between quality and affordability. For example, I’ve used both fabric scraps and high-end textiles depending on the event’s needs. For a casual backyard barbecue, I’ve used burlap and twine — both inexpensive and easy to work with. For a more upscale event, I’ve gone with satin or velvet ribbons and premium wood for keychains.
I’ve also learned the importance of sourcing materials wisely. I’ve found that local craft stores often have better prices and more unique options than online retailers, and I’ve even picked up a few bulk deals on fabric, ribbon, and twine. If you’re looking for something like a custom label, I’ve found that printing them at home with a label maker or a Cricut machine is both fast and cost-effective.
When in doubt, look for multi-use materials. I once used leftover fabric from a dress project to make custom napkin holders that matched the event’s color palette. Not only was it budget-friendly, but it also gave the favors a unique, personal touch that guests appreciated.
Quality doesn’t have to be expensive — it’s about choosing the right materials for the occasion.
Related: Best diy party decor invitations favors
Related: Easy diy party decor invitations
Related: Simple diy party decor invitations favors
Related: Simple diy party decor favors
Related: Diy party decor invitations favors printable
Related: How To Diy Halloween Costumes
Related: Best Diy Party Decor
Related: Living Room Wall Decor
Related: What Is French Country Decor
Related: Mid Century Modern Home Decor Ideas
Related: Diy Party Decor Games Mistakes To Avoid
Related: Jbl Party Box
Related: What Is Party Favors
Related: Best Jackbox Party Pack
Related: Is School Party Craft
Related: Celebration Party Supplies
Related: Christmas Party Decor Without Tools
Related: Natural Kiss Party Decorations
Related: Best Diy Party Decor Planning
Related: Diy Party Decor Activities Checklist
Related: Party Decor How To Choose
Related: What Is A Door Decor
Related: Diy Party Decor Favors Checklist
Related: Diy Party Decor Favors For Beginners
Keep It Simple — Less is More
I’ve made the mistake of overcomplicating favors before — trying to add too many details, which ended up making them look cluttered. The best favors are the ones that are easy to make and still look great. I’ve found that focusing on one or two main elements — like a personalized tag or a single color accent — can be more impactful than trying to do too much.
I’ve also learned that less is more with time. I once spent an entire weekend trying to make elaborate favors for a small party, only to realize that I could have done it in a couple of hours with a simpler design. It’s important to be realistic about how much time you have and how much you’re willing to invest.
Another tip I’ve picked up is to keep tools and materials organized. I’ve used small containers to hold beads, ribbons, and other small items so I don’t spend time searching for them. It might seem like a small thing, but it makes the process go much more smoothly.
Write down all the materials you’ll need for each favor and cross them off as you go. It keeps you focused and ensures you don’t miss anything.
“I remember the first time I hosted a small gathering for friends and realized that the details — the way the table was set, the…”— Decorbyhand editors
Related: How To Diy Party Decor Activities
Related: Halloween Costumes For Girls 10 12
Related: Halloween Decorations Outdoor
Related: What Is Office Decor
Related: What Room Decor
Related: New Year'S Eve Party Supplies
Related: 40th Birthday Party Favors Comparison
Related: Party Decor Near Me
Related: What Is A Party Barn
Related: Decorating For A Party
Related: Diy Party Decor Games Ideas
Related: What Is Eclectic Home Decor
Think About Functionality and Practicality
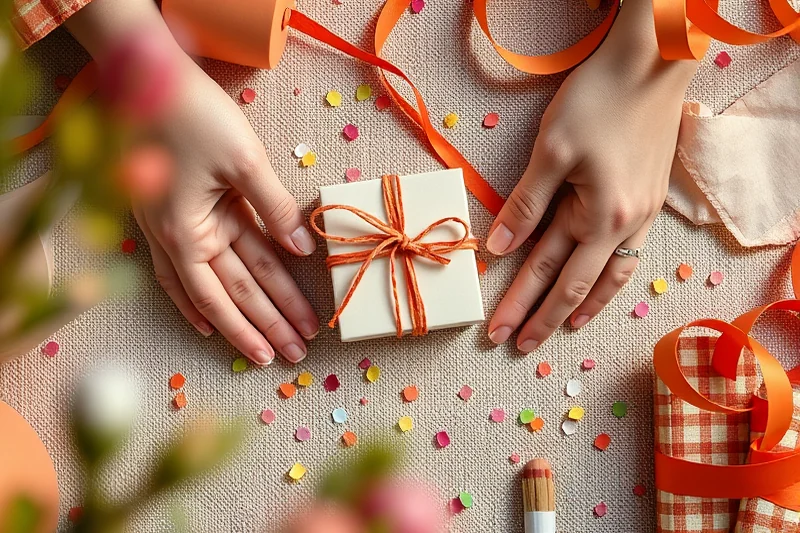
I’ve made favors that were purely decorative, but I’ve also found that guests appreciate something they can actually use. I once gave out custom silicone cups at a summer party, and they were a hit because they were reusable, easy to clean, and had a fun design. They became a favorite among the guests and even got reused at other events.
I’ve also made favors that double as keepsakes. For a bridal shower, I gave out personalized wooden keychains with the couple’s initials. They were not only decorative but also something the guests could use long after the event. I’ve found that favors that have multiple uses tend to be more appreciated and remembered.
When choosing a favor, think about how practical it is. A hand-painted candle is beautiful, but if it’s a small, travel-sized candle, it’s more likely to be used than a large one that might not fit in a purse. I’ve tested this myself — the smaller the favor, the more likely it is to be used in the future.
Related: Top Decoration For Party Ideas
Related: Decorating For A Party Ideas
Related: Home And Decor Website
Related: Diy Party Decor Planning For Small Spaces
Related: Diy Wall Art Ideas
Add Personal Touches That Reflect Your Style
One of my favorite things about DIY favors is the opportunity to add personal touches. I’ve sewn monograms into fabric coasters, painted names onto wooden tags, and even added custom labels to candle jars. It might take a bit more time, but the result is something that feels truly personalized and special.
I’ve also found that adding a small handwritten note to each favor can make a big difference. I’ve written simple messages like 'Thank you for being part of our day' or 'Hope you enjoy this little keepsake' and included them in the favors. It adds a personal touch that guests love and remember.
Another way to add a personal touch is to use your own designs or patterns. I’ve used fabric I’ve sewn myself, hand-painted designs on wood, and even made custom labels with my own handwriting. It’s a way to make the favor feel more unique and reflective of your personal style.
💰 Budget-Friendly Party
Use simple materials like fabric scraps, twine, and paint to create favors that are both affordable and stylish.
🏠 Small-Space Party
Make mini favors that fit easily in gift bags or on small tables — think mini candles, keychains, or hand-painted wooden tags.
🌳 Outdoor Party
Opt for weather-resistant materials like wood, fabric, or silicone for favors that are perfect for garden parties or picnics.
🍷 Grown-Up Version
Choose elegant, refined materials like silk ribbons, engraved wood, or custom labels for a more upscale look.
⏳ Low-Effort Party
Pick favors that take minimal time to make, like pre-made candles, ready-to-use tags, or pre-stitched fabric pieces.
| The mistake | Why it happens | The fix |
|---|---|---|
| Overcomplicating the design | Trying to add too many details can make the favor look cluttered and unprofessional. | Stick to a simple design with one or two main elements, like a color or a personalized tag. |
| Using low-quality materials | Cheap materials can look cheap and may not hold up over time, especially for favors that are meant to be used again. | Choose high-quality, durable materials even if they cost a bit more — it’s an investment in the overall look and longevity of the favor. |
| Neglecting to plan ahead | Not having a clear vision or timeline can lead to last-minute stress and rushed decisions. | Plan your theme, materials, and timeline in advance — even writing down a rough idea or sketch can help keep you on track. |
| Ignoring practicality | Favors that are purely decorative may not be used again, making them less impactful for guests. | Choose favors that are useful and can be taken home and used, like keychains, cups, or candles. |
How To Diy Party Decor Favors
Common Questions
What are some good DIY favors for a small party?
How can I make DIY favors look professional?
Are there any materials I should avoid using for DIY favors?
How do I choose a theme for my DIY favors?
References
- What You Can Do | US EPA (epa.gov)
Cite this guide
Decorbyhand (2026). How To Diy Party Decor Favors. https://decorbyhand.com/how-to-diy-party-decor-favors/
Feel free to cite or share this guide.