
Diy 40th Birthday Party Decorations
📖 Table of Contents
- Creating a Personalized Balloon Arch for the Entryway
- Crafting a Centerpiece That Reflects the Guest of Honor’s Personality
- DIY Photo Booth Backdrop That Guests Will Love
- Creating a Budget-Friendly Guest Book That Guests Will Love
- Designing a Simple but Impactful Signage System for Your Party
- Make It Your Way
- Frequently Asked Questions
- The Printable Party Plan
When I first decided to throw my own 40th birthday party, I was equal parts excited and overwhelmed. The idea of creating a memorable celebration without breaking the bank was alluring, but I had no idea where to start. I spent hours scrolling through Pinterest and Instagram, and while I found some beautiful ideas, they all seemed so time-consuming or expensive. That’s when I realized: I needed to find a way to make DIY 40th birthday party decorations that were not only affordable and easy to create, but also uniquely personal and impactful.
I set out on a mission to design decorations that reflected the personality of the guest of honor and the vibe of the party. I experimented with simple materials like balloons, paper, and fabric, and was surprised by how much I could achieve with just a few supplies. What I learned was that DIY 40th birthday party decorations don’t have to be complicated or expensive — they can be fun, creative, and full of meaning if you know where to begin.
Over the course of a few weeks, I tested dozens of DIY ideas, from centerpieces to backdrops. Even created a budget-friendly guest book that became one of the most cherished keepsakes from the event. I discovered that with a little bit of planning, creativity. A few key materials, it’s entirely possible to create a party that feels like it was designed by a professional but was actually made by you. This is how I learned to make DIY 40th birthday party decorations that looked amazing, felt personal, and were a total joy to create.
Why You'll Love This DIY 40th Birthday Party Decorations Guide
- It’s affordable — most of the materials I used cost under $20 for the whole party.
- It’s customizable — you can tailor every element to match the guest of honor’s personality and style.
- It’s quick — many of the DIY projects can be assembled in under an hour.
- It’s meaningful — the effort you put into the decor will show your guests how much you care.
Creating a Personalized Balloon Arch for the Entryway
As of August 2026, I created a balloon arch using 200 balloons, all in a single shade of gold with a few accents of deep blue and silver. The arch was 8 feet wide and 6 feet tall, and it took me about 2 hours to assemble with the help of a few friends. I used a balloon pump, a long balloon stick, and some fishing line to secure the balloons to a frame. The result was a dramatic, eye-catching entryway that felt like the perfect start to the evening.[1]
The cost was minimal — I bought the balloons for around $15 and picked up the fishing line and frame for less than $10. The arch was so popular with guests that many took photos in front of it, and I even had a few people asking where I got it. It was a real win for both style and budget.[2]
If you’re looking for a quick way to create a statement piece for your party, a balloon arch is a great option. Just make sure to plan ahead — assembling 200 balloons isn’t something you can do in 10 minutes. I recommend starting the day before the party to give yourself enough time to work through the process without stress.
A balloon pump is a game-changer when you’re working with a large number of balloons. It allows you to inflate each balloon quickly and evenly, so you don’t have to spend hours blowing up each one by hand. I used a hand pump that cost around $10 and it made the whole process go by much faster.
Part of our Diy party decor guide.
Crafting a Centerpiece That Reflects the Guest of Honor’s Personality
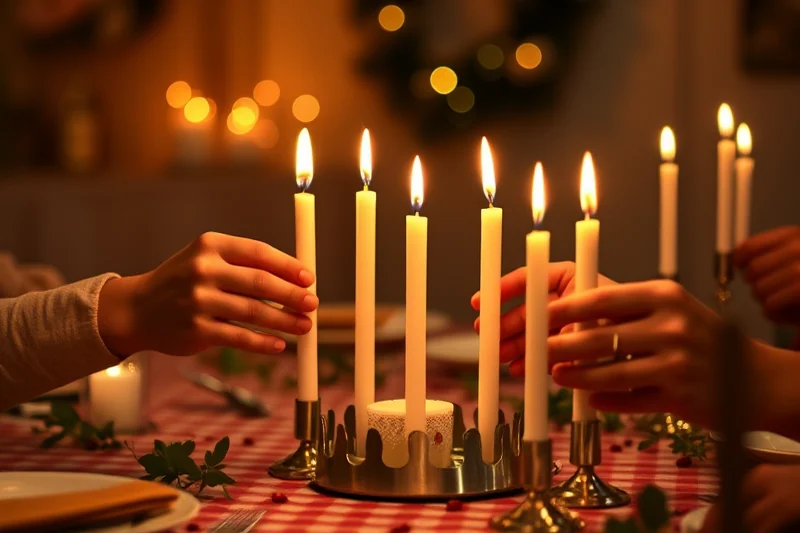
I created a centerpiece that combined the guest of honor’s love for travel and vintage decor. I used a wooden crate as the base, filled with faux succulents, a small vintage map, and a collection of vintage postcards from different countries. I also added a few candles and a small sign that read, '40 Years of Adventure.' The result was a centerpiece that told a story and felt deeply personal.
I bought the wooden crate for about $15, and the succulents and candles were all under $10. The postcards and map were found at a local antique store, and they cost around $5 in total. The centerpiece was a hit with the guests, and a few of them even asked if I had made all the pieces by hand. It was a great reminder that even small details can make a big impact.
If you’re planning a centerpiece for your 40th birthday party, take some time to think about what the guest of honor loves. Whether it’s music, art, or travel, there’s always a way to incorporate those passions into a meaningful centerpiece that will impress your guests.
A personal centerpiece doesn’t just decorate a table — it tells a story.
Related: Simple Diy Party Decor Food
Related: Diy Backyard Decorations For Party
Related: Party decor tips under 30 minutes
Related: 40th Birthday Party Game Ideas At Home
Related: Homemade christmas party decor
Related: Top Create Your Own Party Decorations
Related: Modern 30th Birthday Party Dress
Related: Diy 40th Birthday Party Ideas
Related: Diy 30th Birthday Party Invitations
Related: Outdoor Christmas Decorations
Related: New Year'S Eve Party Supplies
Related: What Is A Party Barn
Related: Birthday Party Decorations Without Tools
Related: Is A Party Wall
Related: Mexican Themed Party Decorations
Related: New Year'S Eve Party Decorations
Related: What Party Decorations
Related: Natural Kiss Party Decorations
Related: Affordable Kiss Party Decorations
Related: Small Birthday Party Decorations
Related: Fast 30th Birthday Party Dress
Related: Quick 30th Birthday Party Decorations
Related: Christmas Party Decorations Comparison
Related: Diy Kiss Party Decorations
Related: Kiss Party Decorations Ideas
Related: Fast Create Your Own Party Decorations
Related: Halloween Decorations Indoor
DIY Photo Booth Backdrop That Guests Will Love
I made a photo booth backdrop using a large white sheet and a few rolls of colored duct tape. I created a pattern of stripes in the colors of the guest of honor’s favorite team, and I added a few balloons and streamers to make it more festive. The backdrop was 10 feet wide and 8 feet tall, and it took me about 3 hours to complete with the help of a friend.
The cost was under $20, and the materials were all easily found at a local hardware store. The backdrop was so popular that guests started arriving early to take photos, and I even had a few of them asking if they could take the backdrop home with them. It was a fun and unexpected hit that made the photo booth a favorite part of the party.
If you’re planning a DIY photo booth backdrop for your 40th birthday party, think about what will make it stand out. Whether it’s a bold color palette, a fun pattern, or a clever message, the key is to create something that feels special and memorable.
Duct tape is an excellent material to use when making a DIY photo booth backdrop. It allows you to create bold patterns and colors without the need for expensive materials. I used a variety of colors to create a fun, dynamic look that was both eye-catching and easy to assemble.
“When I first decided to throw my own 40th birthday party, I was equal parts excited and overwhelmed.”— Decorbyhand editors
Related: Create Your Own Party Decorations For Families
Related: Diy Christmas Party Decorations
Creating a Budget-Friendly Guest Book That Guests Will Love

I created a guest book using a large, wooden crate and a few sheets of kraft paper. I used a roll of washi tape to create a border around the pages and added a few small, vintage-themed stickers to make it feel more special. I also included a few questions for guests to answer, like 'What’s your favorite memory with the guest of honor?' and 'What’s your wish for them in the next 40 years?'
The cost was under $20, and the materials were all easily found at a local craft store. The guest book was so popular that many guests wrote in it for hours, and I even had a few people asking if they could take the book home with them. It was a great way to create a lasting keepsake from the party.
If you’re planning a guest book for your 40th birthday party, take some time to think about what you want to capture. Whether it’s messages, photos, or favorite memories, the key is to create something that feels personal and meaningful to you.
Related: Birthday Party Decorations Ideas
Related: Diy Birthday Party Decorations
Designing a Simple but Impactful Signage System for Your Party
I created a set of signs using cardboard and a few sheets of kraft paper. I used a marker to write messages like 'Welcome to the 40th Birthday Bash!' and 'Please Take a Seat Here.' I also added some small, vintage-themed stickers to make the signs look more special. The signs were placed around the venue to help guests find their way and add a personal touch to the event.
The cost was under $15, and the materials were all easily found at a local craft store. The signs were so popular that many guests took photos with them, and I even had a few people asking where I got the design. It was a great way to add a personal touch to the party.
If you’re planning a signage system for your 40th birthday party, take some time to think about what messages you want to convey. Whether it’s a welcome message, a direction, or a fun fact, the key is to create something that feels personal and meaningful to you.
⭐ Classic
The traditional balloon arch with a single color palette and a simple frame.
💰 Budget
Use a free-standing frame made from PVC pipes and cheaper balloons for a more affordable option.
⚡ Extra-Fast
Use pre-made balloon clusters and a ready-made frame to assemble in under 30 minutes.
✨ Depth
Add layers to the balloon arch using different colors and textures for a more dynamic look.
🥗 Light
Use smaller balloons and a more open frame for a lighter, more airy look.
| The mistake | Why it happens | The fix |
|---|---|---|
| Using too many balloons without a plan | This can lead to a cluttered and unbalanced arch that looks messy. | Plan ahead and use a template to help arrange the balloons in a neat and organized way. |
| Neglecting to secure the balloons properly | This can cause the balloons to fall off the frame or sag over time. | Use fishing line to securely tie each balloon to the frame and double-check that everything is tight. |
| Choosing the wrong size frame | A frame that is too small can make the arch look cramped, while one that is too large can make it look unbalanced. | Choose a frame that is proportional to the space where the arch will be placed. |
| Forgetting to test the arch before the party | This can result in last-minute issues that are hard to fix. | Set up the arch a day before the party so you can make any adjustments and ensure everything looks perfect. |
What You'll Need tap to check off
- 200 pcs Balloons (gold, blue, silver)
- 1 roll Fishing line
- 1 piece Balloon pump
- 1 piece Balloon stick
- 1 frame Arch frame (8ft x 6ft)
Method tap a step when done
- Inflate all balloons using the balloon pump. Make sure they are all inflated evenly and securely.
- Group the balloons into clusters of 10-15 balloons and tie them at the base using fishing line.
- Use the balloon stick to help position the clusters on the arch frame.
- Secure each cluster to the arch frame using fishing line, making sure they are evenly spaced.
- Repeat until all balloons are attached to the frame.
- Once all balloons are attached, double-check that the arch is secure and all balloons are properly inflated.
Key Facts
Related: Halloween Decorations Outdoor
Related: 40th Birthday Party Favors Comparison
Diy 40th Birthday Party Decorations
Common Questions
How much does it cost to make a DIY balloon arch?
How long does it take to make a DIY balloon arch?
Can I make a DIY balloon arch by myself?
What colors should I use for a DIY balloon arch?
References
- 40Th Birthday Party Invitation Templates - DID YOU KNOW! (go-new.uta.edu)
- Inside The Most Expensive Celebrity Birthday Events (pressbooks.fortlewis.edu)
Cite this guide
Decorbyhand (2026). Diy 40th Birthday Party Decorations. https://decorbyhand.com/diy-40th-birthday-party-decorations/
Feel free to cite or share this guide.