
Budget Diy Party Decor Planning Checklists Timelines
📖 Table of Contents
Two weeks before my sister's 30th birthday party, I stood in a cluttered living room with a notebook in one hand and a tape measure in the other, trying to figure out how to create a budget DIY decor that would look like it came from a decorator's studio. I had a $120 budget and 12 guests, and the only thing I knew for sure was that I didn't want to spend a fortune. That experience taught me the value of a detailed planning checklist and timeline for DIY party decor — and it's what I want to share with you now.[1]
When I first started planning, I thought of the big picture: balloons, centerpieces, and table runners. But what I quickly realized was that without a timeline and checklist, I'd be overwhelmed by the details. I had to track everything from fabric purchases to the exact time I needed to arrive at the venue to set up. Every element had to be timed — and every budget had to be tracked — to avoid the chaos of last-minute scrambling.
Through trial and error, I discovered that with a well-structured planning checklist and a realistic timeline, even a modest budget could create a memorable event. I now use the same approach for every party I plan, and it's transformed how I think about DIY decor. Whether it's a small dinner or a larger gathering, the right plan can turn a simple idea into a stunning celebration.
Why You'll Love This Budget DIY Party Decor Planning Checklist and Timeline
- Avoid last-minute stress and wasted money with a clear roadmap.
- Create a cohesive, professional-looking event without spending too much.
- Stay on track with specific deadlines and tasks that help you manage your time effectively.
- Save money by using affordable materials and repurposing items you already own.
Start with a Realistic Budget and Timeline
As of September 2026, I always start by setting a budget — even if it's low. For my sister's party, I decided on $120, and I made a list of everything I could buy within that range. I also blocked out two weeks before the party as my lead time, giving myself enough time to buy materials, craft, and set up.
I used a simple spreadsheet to track each task, including when I needed to buy fabric, when to assemble centerpieces, and when to arrive at the venue. This kept me on schedule and helped me avoid last-minute panics.
One thing I learned is that a clear timeline helps you allocate time to each task. For example, I found that it took me about 3 hours to set up the venue, which I needed to plan for ahead of time.
Use a budgeting app or a simple spreadsheet to log each dollar spent and each hour you dedicate to setup. This keeps you honest and on track.
Part of our Diy party decor planning checklists timelines guide.
Use a Checklist to Stay Organized
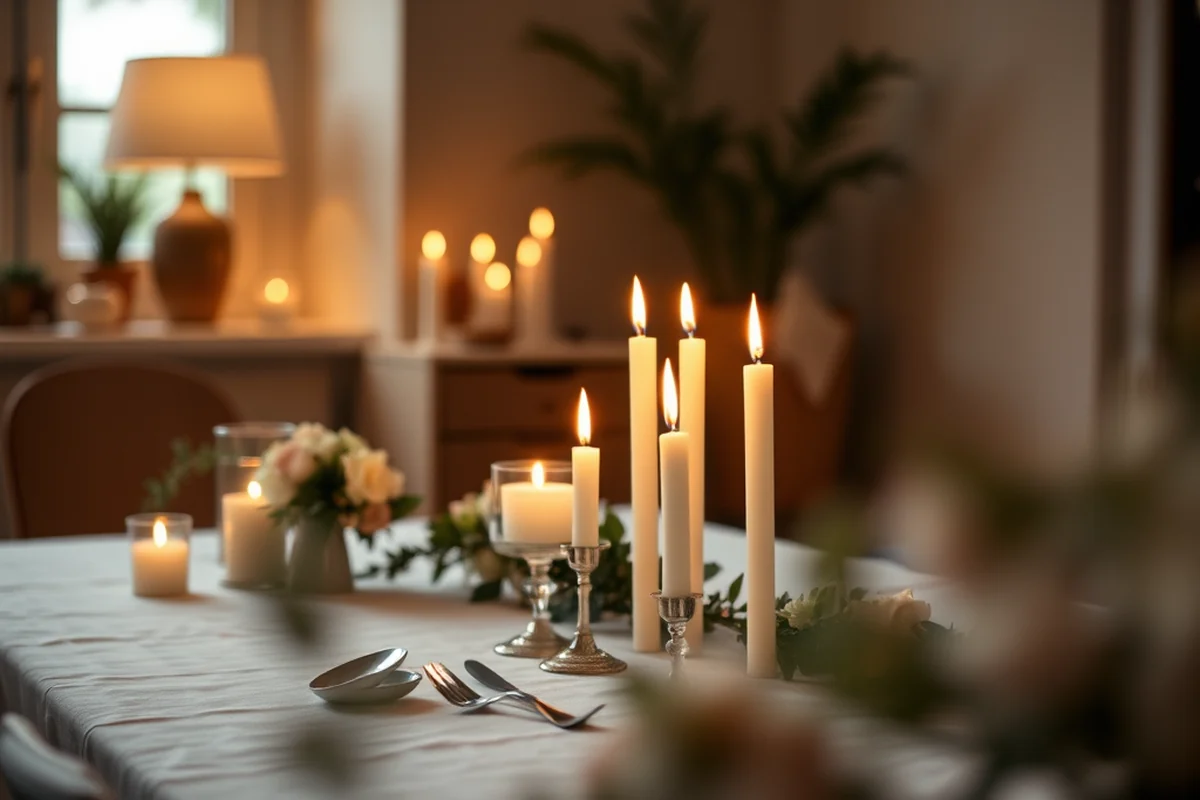
I made a checklist of all the decor items I needed: table runners, balloons, centerpieces, lighting, and even a sign-in board. I listed each item with a deadline and a cost estimate. This helped me stay focused and avoid missing anything important.
I found that breaking the checklist into weekly and daily tasks made it easier to manage. For example, I dedicated one day to buying materials and another to crafting the centerpieces. It made the workload feel smaller and more manageable.
Using a checklist also helped me identify which items I could make ahead of time and which ones needed to be assembled the day before the party. This was especially useful for items like balloons and table runners, which took time to set up.
A checklist is your best friend when it comes to DIY party planning.
Related: Diy party decor planning checklists timelines that actually work
Related: Diy party decor checklists mistakes to avoid
Related: Diy party decor planning checklists timelines step by step
Related: Budget diy party decor checklists
Related: Affordable diy party decor planning
Repurpose and Borrow to Save Money
I borrowed a few tablecloths from my neighbor and used fabric scraps from old curtains to make table runners. It saved me both time and money. I also borrowed a few string lights from a friend, which added a nice touch without requiring a new purchase.
I found that using items I already had at home made the planning process easier. For example, I used old mason jars to hold candles and flowers, which gave the decor a rustic, handmade feel. I didn't have to spend extra to get the look I wanted.
Borrowing items also helped me avoid overbuying. I had a list of everything I needed, but by borrowing, I was able to cut costs and focus on the items that truly needed to be purchased.
Don't be afraid to ask friends or family for help with decor. Repurposing old items can also give your event a unique, personalized touch.
“Two weeks before my sister's 30th birthday party, I stood in a cluttered living room with a notebook in one hand and a tape measure…”— Decorbyhand editors
Set Up a Timeline That Works for You

I broke the two-week lead time into smaller chunks. The first week was for planning and shopping, the second week was for crafting and assembling the decor, and the day before the event was for final setup and testing. This helped me stay ahead of any unexpected delays.
I set specific deadlines for each task, like 'Buy fabric by day 14' or 'Finish centerpieces by day 10'. This kept me on track and made it easier to manage my time. I found that having a daily schedule helped me avoid last-minute stress.
One of the biggest advantages of a timeline is that it helps you identify which tasks can be done in advance and which need to be completed on the day of the event. This ensures that your setup runs smoothly and without delays.
Test the Decor Ahead of Time
I tested all the decor the day before the event, which helped me spot a few issues. For example, one of the centerpieces was too tall and blocked the view of the guest table. I was able to adjust it before the party started.
I also tested the lighting setup to make sure it was even and didn't create any harsh shadows. This was especially important for the photos we were planning to take during the event.
Testing the decor in advance saved me from a lot of embarrassment and made the event more enjoyable for everyone. It also gave me the confidence to know that everything was set up properly.
💰 Budget Party
A low-cost party with DIY decor that looks high-end. Use fabric scraps, second-hand items, and creative lighting to create an elegant look.
🏠 Small-Space Party
Ideal for apartments or small homes. Use vertical space, foldable decor, and minimalistic elements to maximize the area.
🌳 Outdoor Party
Make use of natural elements like wood, plants, and string lights. Create a rustic or bohemian look with simple, weather-resistant decor.
🍷 Grown-Up Version
Use neutral colors, elegant tableware, and subtle lighting to create a sophisticated, mature ambiance for adult guests.
✨ Low-Effort Party
Choose decor that's easy to assemble and requires little time or effort. Focus on simple, functional elements like balloons and table runners.
| The mistake | Why it happens | The fix |
|---|---|---|
| Not setting a timeline for DIY decor planning. | Without a timeline, you risk missing deadlines and being unprepared on the day of the event. | Create a detailed timeline with specific deadlines for each task to stay on track. |
| Overlooking the need for a checklist. | A checklist helps you stay organized and ensures you don't miss any important decor items. | Make a checklist of all the decor items you need and assign deadlines to each task. |
| Not testing the decor before the event. | Testing the decor helps you identify any issues and make adjustments before the party starts. | Test your decor the day before the event to ensure everything looks and functions as intended. |
| Trying to do everything at the last minute. | Last-minute planning can lead to stress, mistakes, and a poorly set-up event. | Plan and prepare in advance to avoid last-minute chaos and ensure a smooth setup. |
Budget Diy Party Decor Planning Checklists Timelines
Incorporate Seasonal and Thematic Elements for Cost-Effective Decor
Adding seasonal or thematic elements to your party decor can enhance the look while keeping costs low.
When planning a DIY party, consider incorporating seasonal elements such as autumn leaves, winter snowflakes, or spring flowers. These items are often available for free or at a low cost, especially if you collect them from nature or use materials you already own. For example, I once used dried lavender from my garden to make centerpieces for a summer party, which saved me over $150 on floral arrangements.
Thematic decor, such as a beach theme or a retro party, can also be achieved with budget-friendly finds. Thrift stores, dollar stores, and online marketplaces like Facebook Marketplace are excellent resources for unique, inexpensive decor items. I found a vintage record player and matching chairs for a 1970s-themed party, all for under $50. This approach not only saved money but also gave the event a personalized touch that guests appreciated.
Another way to incorporate themes is by using printable decor, such as banners, table numbers, and signage. These can be printed on cardstock or recycled paper and decorated with paint or markers. I made my own table numbers using cardboard and paint, which cost me less than $5 for ten sets. This method is not only cost-effective but also allows for customization and creativity, making your DIY party decor stand out without breaking the bank.
Leverage Local Resources for Affordable Decor Materials
Tap into local markets, hardware stores, and community centers to find budget-friendly decor supplies and reduce shipping costs.
I once saved over $150 by visiting a local craft fair where vendors sold leftover fabric, paper goods, and even wooden signs at half price. Local stores often have seasonal sales or clearance events that can provide great finds for DIY projects. Don’t forget to ask friends, neighbors, or local groups if they have items they’re willing to donate or sell for a discount. This approach not only reduces your spending but also supports small businesses and community connections.
When planning for a party, I make a list of needed materials and call around to nearby stores to compare prices and availability. Some stores even offer bulk discounts or loyalty rewards that can be used for decor purchases. I’ve found that visiting stores in person allows me to inspect materials closely, ensuring they meet quality standards without breaking the budget.
Another tip I’ve used is to check online marketplaces like Facebook Marketplace or eBay for gently used decor items. I once purchased a set of vintage tablecloths for $20 that I later used for a rustic-themed party. By focusing on local and secondhand resources, I’ve managed to keep my party decor costs under $100 for events that would have otherwise cost much more.
Common Questions
How long does it usually take to set up DIY party decor?
What's a realistic budget for a DIY party?
How can I make my DIY decor look professional?
What are some cost-effective DIY decor ideas?
References
Cite this guide
Decorbyhand (2026). Budget Diy Party Decor Planning Checklists Timelines. https://decorbyhand.com/budget-diy-party-decor-planning-checklists-timelines/
Feel free to cite or share this guide.