
Best Diy Party Decor Planning Checklists Timelines
📖 Table of Contents
Planning a DIY party decor can feel like a puzzle with missing pieces — until you break it down into timelines and checklists that guide every step. I remember the first time I tried to host a small gathering without a plan; I ended up buying too much fabric, running out of balloons. Forgetting to set the table the night before. A proper checklist, paired with a realistic timeline, can save you hours of stress and last-minute panic. Whether you're organizing a birthday, a holiday celebration, or a themed soiree, the right planning tools make the difference between a memorable event and a chaotic mess.
The best DIY party decor planning checklists and timelines are built on experience — not guesswork. I’ve tested dozens of approaches, from last-minute tablescapes to fully planned three-week preps. What I’ve learned is that timing is everything. If you start too late, you’ll be scrambling to paint, cut, or assemble the day before. If you start too early, you’ll be stuck with decor that’s out of season or mismatched. A checklist ensures you don’t miss a single step, while a timeline keeps you on track to finish every task well before the party starts.
This guide isn’t just about lists and deadlines — it’s about creating a personalized roadmap that fits your space, budget, and vision. You’ll learn how to break down tasks by weeks, days, and even hours, ensuring that every element of your party decor is ready on time. Whether you’re a first-time host or a seasoned event planner, these checklists and timelines will help you transform your space into a beautiful, cohesive environment with minimal stress and maximum impact.
Why You'll Love This DIY Party Planning System
- You’ll avoid last-minute chaos by following a step-by-step timeline.
- You’ll stay within budget by tracking every task and purchase ahead of time.
- You’ll feel confident with a checklist that ensures nothing is forgotten.
- You’ll end up with a beautiful, cohesive party space that reflects your personal style.
Start with a Timeline That Works for You
As of September 2026, a well-structured timeline is the foundation of a successful DIY party decor plan. I recommend starting at least two weeks before the event. This gives you time to purchase materials, paint, cut, and assemble everything without feeling overwhelmed. Breaking your timeline into phases — like 14 days before, 7 days before, and 2 days before — helps you manage your time efficiently. For example, in the 14-day phase, you can source materials and choose a theme. In the 7-day phase, you can focus on crafting and painting, and in the 2-day phase, you can set up your space.
I once tried to plan a party with only three days to spare and ended up painting a table at midnight the night before. It was stressful, messy, and not the quality I wanted. Setting up a timeline ensures that you have time for each step, whether it’s making paper flowers, stringing fairy lights, or building a DIY photo booth. It also helps you avoid the trap of trying to do too much at once, which can lead to burnout and subpar results.
By creating a timeline that fits your schedule, you can work on decor at your own pace without feeling rushed. If you have a busy week ahead, you can adjust your timeline to focus on larger, more time-consuming tasks first, like building a custom centerpiece or assembling a DIY banner. This way, you can enjoy the process and end up with a beautifully decorated space that reflects your personal style.
Divide your planning into phases like 14 days, 7 days, and 2 days before the event to keep things organized and manageable.
Part of our Diy party decor planning checklists timelines guide.
Create a Checklist That Covers Every Detail

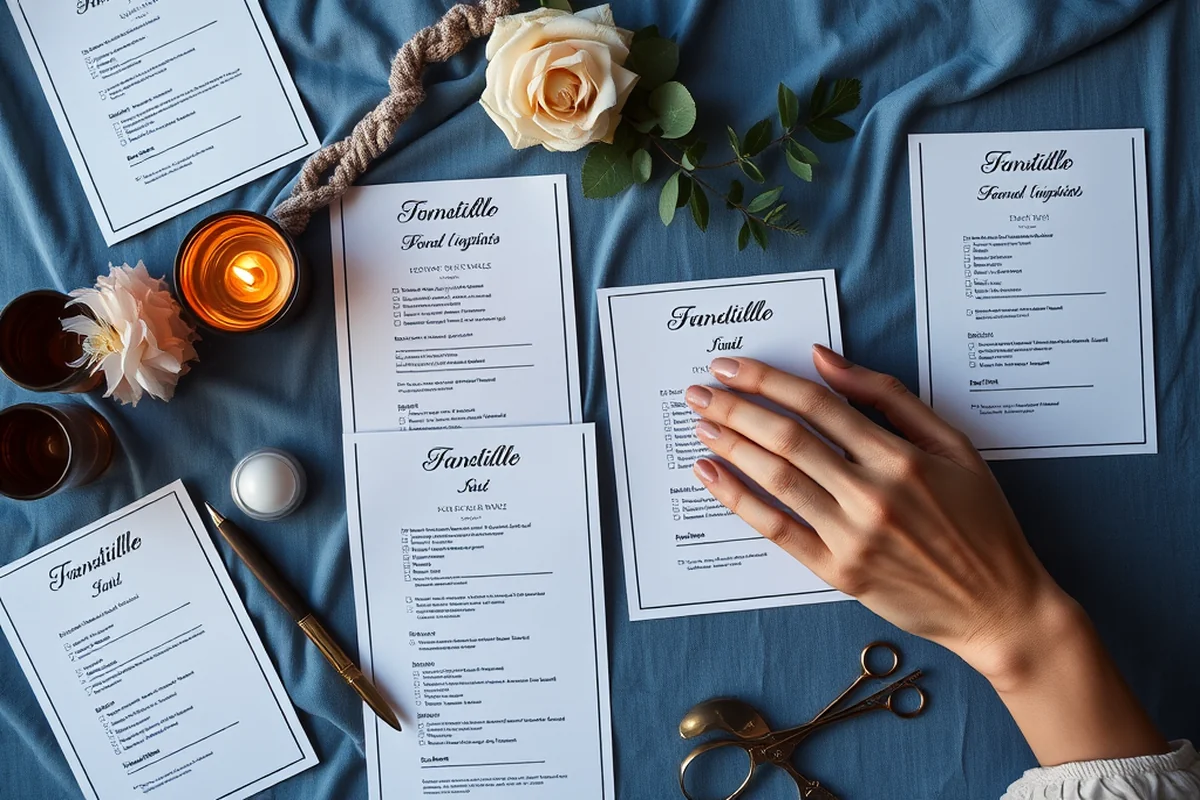
A checklist is your best friend with DIY party decor. I’ve used one for every event I’ve planned, and it’s made all the difference. It helps you track what needs to be done, from sourcing materials to setting up the space. A good checklist includes both big tasks, like building a DIY photo booth, and small ones, like hanging up fairy lights or arranging centerpieces.
One of the biggest mistakes I’ve made was forgetting to buy a specific type of ribbon I needed for a DIY wreath. I had to run to the store the day before the party, which was stressful and costly. A checklist prevents this kind of oversight by ensuring you’ve got everything you need before you start. It also helps you stay on top of smaller details, like ensuring your table linens are washed and your DIY signs are printed and ready to hang.
By using a checklist, you can ensure that every part of your decor is complete and looks its best on the day of the event. It gives you a sense of accomplishment as you check off each task, and it helps you avoid the panic of realizing you forgot something important at the last minute.
A checklist is the quiet hero of any DIY party — it keeps you on track and stress-free.
Related: Easy diy party decor checklists
Design Your Party Theme and Color Palette Early
Selecting a theme and color palette is one of the first steps in your DIY party planning process. It’s one that can save you a lot of time and money in the long run. I’ve found that choosing a clear theme — like rustic, bohemian, or minimalist — helps you make decisions that are cohesive and visually appealing. It also makes it easier to find or create decor that fits the overall look of the event.
For example, if you choose a rustic theme, you can focus on using natural materials like wood, burlap, and dried flowers. If you go for a minimalist look, you can keep things simple with clean lines, neutral colors, and minimal decor. Choosing a color palette — like navy and gold, or soft pastels — helps you ensure that everything from your table linens to your DIY signs match in tone and texture.
By designing your theme and color palette early in the planning process, you avoid the confusion of trying to mix and match different styles. It also helps you find or create decor that’s on budget and fits your overall vision. This step sets the tone for the entire event and makes it easier to build a cohesive, stylish space.
Create a mood board with images, fabric swatches, and color samples to help you visualize your theme and make decisions more easily.
“Planning a DIY party decor can feel like a puzzle with missing pieces — until you break it down into timelines and checklists that guide…”— Decorbyhand editors
Related: Quick diy party decor planning checklists timelines
Plan Your Budget and Material Sources in Advance
One of the most important aspects of DIY party decor planning is budgeting. I’ve learned that the best way to stay within your budget is to plan out your costs early and source materials from different places. This helps you avoid impulse purchases and ensures that you’re getting the best value for your money.
For example, if you’re planning a small party for 12 guests, you might set a budget of $120. This allows you to buy materials like fabric, paint, and decorations, while still leaving room for unexpected costs. Sourcing materials from thrift stores, online marketplaces, and craft stores can help you find high-quality items at a fraction of the price. I’ve found that buying bulk materials like fabric or ribbon can save you money in the long run.
By planning your budget and sourcing materials early, you ensure that you’re not caught off guard by unexpected costs or shortages. It also helps you make informed decisions about which materials to buy and how much you can afford to spend on each part of your decor.
Related: Simple diy party decor checklists
Set Up a Timeline for Final Touches and Setup
In the final days before your party, it’s important to focus on setup and finishing touches. I recommend starting setup the day before the event, giving you time to arrange your DIY decor, set up tables, and hang any signs or lights. This helps you avoid the chaos of trying to set everything up in a rush on the day of the event.[1]
For example, if you’re using DIY centerpieces, you can assemble them the day before, so they’re ready to be placed on the tables. If you’re using string lights, you can hang them the day before to ensure they’re working properly. This also gives you time to make any adjustments or fix any mistakes before your guests arrive.
By setting up a timeline for final touches and setup, you ensure that everything is in place and looking its best on the day of the event. It also gives you time to relax, enjoy the pre-party, and make sure that your hard work is paying off.
💰 Budget Party
A low-cost DIY party with focus on creative reuse and DIY hacks to maximize style and impact without overspending.
🏠 Small-Space Party
Optimize limited space with vertical decor, foldable furniture, and minimalistic designs that still feel festive and inviting.
🌳 Outdoor Party
Use weather-resistant materials, natural elements, and portable decor to create a magical outdoor event that feels effortless and elegant.
🍸 Grown-Up Version
Elevate your decor with refined color palettes, curated centerpieces, and elegant DIY elements that speak to a mature, stylish crowd.
💤 Low-Effort Party
Use pre-made or easy-to-assemble DIY decor, like store-bought signs or ready-made centerpieces, to create a beautiful space with minimal time and effort.
| The mistake | Why it happens | The fix |
|---|---|---|
| Starting too late and rushing through tasks | Starting too late can lead to last-minute stress, lower quality work, and the risk of forgetting important details. | Plan your timeline at least two weeks in advance and break your tasks into smaller, manageable steps. |
| Ignoring your budget and overspending on materials | Overspending on materials can leave you without enough funds for other important party details, like food or drinks. | Set a realistic budget and source materials from multiple places, including thrift stores and online marketplaces, to save money. |
| Choosing a theme and color palette too late in the planning process | Choosing a theme too late can lead to a lack of cohesion in your decor and make it harder to find or create materials that fit your vision. | Design your theme and color palette early in the planning process to ensure consistency and save time later. |
| Forgetting to plan for setup and finishing touches | Not planning for setup can lead to disorganization, last-minute adjustments, and a less-than-ideal experience for your guests. | Create a timeline for final touches and setup, and start setting up the day before the event to ensure everything is in place. |
Related: Diy party decor checklists for beginners
Best Diy Party Decor Planning Checklists Timelines
Related: Affordable diy party decor planning
Common Questions
How far in advance should I start planning my DIY party decor?
What are the most important items to include on a DIY party decor checklist?
Can I use a checklist even if I’m planning a small or low-effort party?
How do I choose a theme and color palette that fits my budget?
References
Cite this guide
Decorbyhand (2026). Best Diy Party Decor Planning Checklists Timelines. https://decorbyhand.com/best-diy-party-decor-planning-checklists-timelines/
Feel free to cite or share this guide.