
Diy Party Decor Invitations Favors On A Budget
📖 Table of Contents
I remember the first time I tried to make DIY party invitations and favors on a budget — my hands were stained with glue, my living room was transformed into a craft studio. I was absolutely delighted. It was a small 12-person birthday party for my best friend, and I wanted to make it feel special without spending a fortune. With just $120 and about two weeks of planning, I managed to create custom invitations, handmade favors, and even a few decor elements that guests still talk about. The whole experience was messy, satisfying, and surprisingly manageable — and that’s exactly what I want to share with you.
When I first started thinking about DIY party decor, I assumed it would be a lot of work. What I discovered was that with the right approach, it can be both fun and affordable. I’ve tested a range of techniques, from using old magazines for paper flowers to repurposing mason jars as favor holders, and I’ve learned which methods really work. My favorite part? Watching the guests’ faces light up when they see the personalized touches you've added, knowing you made it all yourself.
DIY party decor invitations and favors on a budget aren’t just about saving money — they’re about adding a personal, heartfelt touch that store-bought items simply can’t match. I’ve walked the line between overcomplicating and underpreparing, and I can tell you from experience that with a little planning and creativity, even the most modest of budgets can create an unforgettable event. You’ll be amazed at how much you can achieve with just a few materials, a little time, and a whole lot of heart.
Why You'll Love This DIY Party Decor Approach
- Save hundreds of dollars on store-bought invitations and favors
- Create a unique, personal experience for your guests that reflects your style
- Reduce waste by reusing and repurposing materials you already own
- Spend quality time crafting and planning with your loved ones
Getting Started with DIY Invitations
As of August 2026, I’ve found that starting with a simple template in Canva or Adobe Spark works wonders. You can customize the font, background, and layout to match your party’s theme. I used a vintage scrapbook paper as the background for my birthday invitations, which gave them a unique, handmade feel.
To make the invitations more personal, I added handwritten notes on the back of each one — a quick but thoughtful touch that really made the guests feel appreciated. I used a small brush and watercolor paints for the details, and it only took me about an hour to complete all 12 invitations.[1]
If you’re working on a tight budget, consider using recycled materials like old greeting cards or scrap paper. I repurposed a collection of birthday cards I had from previous years, and it saved me about $30 on paper alone.
If you have an old scrapbook, use it as a background for your invitations. It adds a retro charm that’s both affordable and visually appealing.
Part of our Diy party decor invitations favors guide.
Creating Budget-Friendly Party Favors
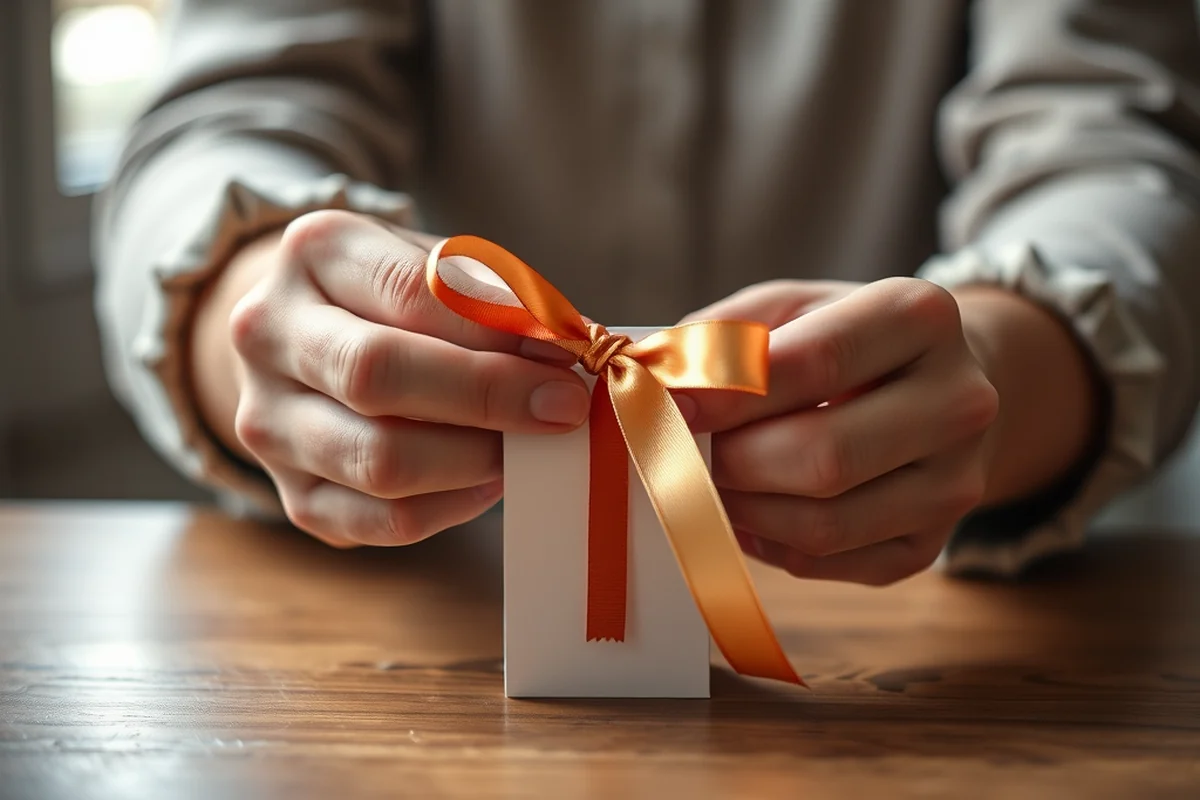
I used mason jars to hold small hand-poured candles and dried flower arrangements. I found the jars at a local thrift store for about $2 each, and they gave the favors an elegant, rustic look. I added a small tag with a handwritten thank-you note to each jar, which was a simple but effective way to add a personal touch.
For a more affordable option, I made DIY cookie jars using empty mason jars and a few drops of food coloring. I filled them with mini chocolate truffles and tied them with twine. The guests loved them, and I only spent about $15 on materials for the entire batch.
Another great idea is to use leftover fabric or ribbon to make personalized mini purses or keychains. I made a set of fabric keychains for my guests, and they were a big hit. The cost per keychain was less than $1, and they were a fun, interactive way to give guests a keepsake.
A little creativity can turn the most ordinary items into the most memorable party favors.
Related: Easy diy party decor invitations favors
Related: Best diy party decor invitations
Related: Simple diy party decor favors
Related: Budget Diy Party Decor Examples
Related: Diy party decor invitations ideas
Related: Diy Party Decor Invitations Favors Tips
Related: Romantic Room Decoration
Related: How To Diy Party Decor Invitations Favors
Related: Diy Party Decor Invitations Favors Examples
Related: How To Home Decor Wall Art
Related: Budget Diy Party Decor Activities
Related: What Is Home Decor Items
Related: Quick Diy Party Decor Invitations Favors
Related: Diy Wall Art Ideas
Related: Quick Diy Party Decor Games Activities
Related: Diy Party Decor Invitations Guide
Related: Affordable Diy Party Decor Invitations
Related: Diy Party Decor Planning On A Budget
Related: Budget Christmas Party Decorations
Related: Diy Party Decor Budget Printable
Related: Budget Diy Party Decor Tips
Related: Best Budget Diy Party Decor
Related: What Is Modern Decor
Related: Diy Party Decor Favors Checklist
Choosing the Right Materials for DIY Decor
I’ve found that using materials like burlap, twine, and old magazines can help you achieve a rustic, handmade look without spending a lot of money. For example, I used burlap to make a hanging banner for the party room, and it added a cozy, textured element that was perfect for the theme.
With fabric, I prefer using leftover material from previous projects. I had a piece of lace from an old dress that I used to decorate the table centerpieces, and it looked absolutely stunning. It was a way to reuse something I had already owned and saved me money.
I also recommend investing in a few quality tools, like a hot glue gun and a set of decorative scissors. These tools can make your DIY project easier and more professional. A good hot glue gun costs around $20, but it’s worth every penny for how much it can help you create beautiful, lasting decorations.
If you have leftover fabric from previous projects, use it to make table runners or centerpieces. It adds a personal, handmade element and helps you save money.
“I remember the first time I tried to make DIY party invitations and favors on a budget — my hands were stained with glue, my…”— Decorbyhand editors
Related: Diy Party Decor Invitations Printable
Related: 40th Birthday Party Favors Comparison
Related: Diy Party Decor Ideas
Related: Diy Diy Party Decor Invitations
Related: How To Diy Halloween Costumes
Related: Budget Diy Party Decor Checklists
Related: Top Decoration For Party Ideas
Related: Diy Party Decor Games Printable
Related: Affordable Budget Diy Party Decor
Adding Personalized Touches to Your Decor
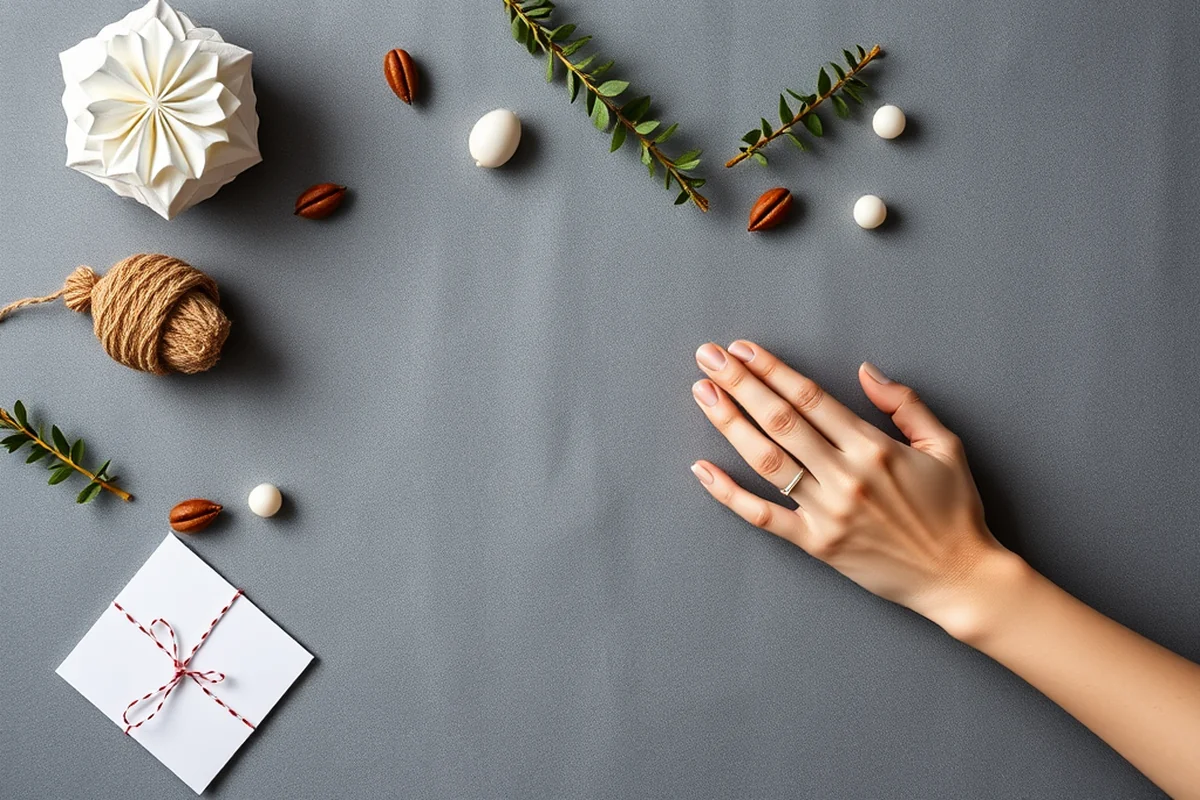
I added a few small, handmade signs to the event space using cardboard and markers. They had phrases like “Welcome” and “Enjoy the Party,” and they were a simple but effective way to add a personal touch. I used a stencil to create the letters, which made the signs look more professional.
Another idea is to use a small label maker to create custom tags for your party favors and invitations. I used mine to add names to the invitations, which made the guests feel even more special. The label maker cost about $30, but it was a worthwhile investment for how much it helped with personalization.
You can also use photo prints or hand-drawn illustrations to add a unique touch to your decorations. I made a few small prints of my favorite memories and used them as part of the table centerpieces. It was a way to add a personal, heartfelt element to the event without spending a lot of money.
Related: Diy Party Decor Invitations Favors Guide
Related: Diy Party Decor Invitations Favors For Small Spaces
Related: Diy Party Decor Invitations Favors Mistakes To Avoid
Related: Diy Party Decor Budget Guide
Planning and Organizing Your DIY Party Decor
I always start by making a list of all the materials I’ll need, along with their estimated costs and quantities. This helps me stay within budget and avoid running out of supplies. I found that using a spreadsheet helped me track everything more effectively.
I also like to set up a small crafting area in my home that I can use for making invitations and favors. I have a small table with a few bins for organizing materials, which makes the process much easier. I keep everything sorted by material and project, which saves me a lot of time.
Another tip is to start working on your decorations well in advance — at least two weeks before the event. This gives you time to make adjustments and ensure that everything is perfect. I found that working on the invitations and favors a few days before the party also helped me avoid last-minute stress.
💰 Budget-Friendly Party
Create an unforgettable event with minimal expenses by focusing on repurposed materials and simple, handmade decorations.
🏠 Small-Space Party
Design a cozy, intimate gathering by using compact DIY decor that fits perfectly in a small living room or bedroom.
🌳 Outdoor Party
Bring the outdoors in with DIY decor that complements the natural setting, using elements like twine, burlap, and fabric for a rustic look.
🍷 Grown-Up Version
Elevate the decor with a more sophisticated, elegant look using quality materials and subtle, refined touches.
💤 Low-Effort Party
Host a stress-free event with DIY decor that requires minimal time and effort to create, perfect for last-minute gatherings.
| The mistake | Why it happens | The fix |
|---|---|---|
| Using too many different materials | This can make your DIY party decor look disorganized and messy. It’s better to focus on a few key materials that complement each other and create a cohesive look. | Stick to a limited color palette and a few key materials, like burlap, twine, and fabric, to keep everything looking clean and professional. |
| Starting the project too close to the event date | This can lead to last-minute stress and a rushed, incomplete project. It’s important to allow enough time to complete all the details and make any necessary adjustments. | Start planning at least two weeks in advance, and give yourself enough time to work on each part of the project without feeling overwhelmed. |
| Ignoring the theme of the party | Your DIY decor should match the overall theme of the event. Failing to consider the theme can make your decorations feel out of place or mismatched. | Choose materials and colors that align with the theme of the party, and make sure every element, from invitations to favors, reflects that theme consistently. |
| Not testing the decor in advance | It’s easy to assume that your DIY decor will look great once it’s set up, but it’s always a good idea to test it beforehand to ensure everything looks and functions as intended. | Set up your decorations in a small area before the party and take a few photos to see how they look. This allows you to make any necessary changes before the big day. |
Diy Party Decor Invitations Favors On A Budget
Common Questions
How much time should I plan for making DIY invitations and favors?
Where can I find affordable materials for DIY party decor?
Can I make DIY party decor with a small budget?
What are some easy DIY party favor ideas for beginners?
References
- Serve Up a Sustainable Party or Event this Holiday Season (fairfaxcounty.gov)
Cite this guide
Decorbyhand (2026). Diy Party Decor Invitations Favors On A Budget. https://decorbyhand.com/diy-party-decor-invitations-favors-on-a-budget/
Feel free to cite or share this guide.