
Diy Halloween Decorations
📖 Table of Contents
- How to Start Your DIY Halloween Decor Journey
- Creating a Cohesive Decor Layout
- DIY Decor Ideas That Are Easy and Effective
- Adding Personal Touches to Your Decor
- Lighting and Ambiance for a Spooky Mood
- Making Sure Your Decor Is Safe and Functional
- Staying Within Your Budget
- Make It Your Way
- Frequently Asked Questions
This year, I found myself standing in my living room at 10 p.m. On October 31st, staring at a box of pumpkins, a few plastic spiders, and a half-decorated front door. I had a party to host the next morning, and the decorations felt lifeless, generic, and entirely too store-bought. That moment changed my approach to Halloween — and it's how I learned the power of DIY Halloween decorations. With just a few hours, some craft supplies, and a little creativity, you can transform your space into a spooky, memorable event that feels personal and unique.[1]
I've hosted Halloween parties for over a decade now. The best ones always had a DIY edge — handmade banners, candlelit centerpieces, and spooky wall art that felt like it belonged in a haunted mansion. The difference between a good Halloween event and a great one? The level of detail and thought that goes into the decorations. DIY Halloween decorations allow you to inject your personality, budget, and even your guests' preferences into the event, making it feel more special and tailored.
If you're looking to create a memorable Halloween party that stands out from the usual store-bought decor, DIY Halloween decorations are your best bet. Not only are they cost-effective and customizable, but they also give your event a personal touch that guests will remember. Whether you're throwing a small gathering or a full-blown haunted house, the right DIY decorations can elevate the entire experience.
Why You'll Love This Halloween Party Idea
- DIY decorations are uniquely customizable and budget-friendly.
- They add a personal touch that makes your event feel more special and tailored.
- You can create a cohesive theme without breaking the bank.
- They give you the freedom to experiment and innovate with your decor.
How to Start Your DIY Halloween Decor Journey
As of November 2026, Start by picking a Halloween theme — whether it's a haunted mansion, a witch's coven, or a spooky forest — and let that guide your decor choices. Once your theme is clear, gather materials that are both affordable and easy to work with, such as paint, fabric, and basic crafting supplies. I’ve found that starting with a theme helps avoid a cluttered or disjointed look, which is especially important when hosting guests.[2]
I once hosted a haunted mansion-themed party where I used black and gold as the primary colors. I painted the walls with gold accents and hung black fabric banners. The result was elegant and immersive. For the next event, I went with a witch’s coven theme, using red, green, and black — which gave the space a more mysterious and eerie vibe.
You can also source materials from secondhand stores or repurpose old Halloween decorations you’ve had in the past. I’ve used items like old picture frames, fabric scraps, and even leftover paint from past events. Not only is this cost-effective, but it also gives your decorations a unique, lived-in quality that mass-produced decor can’t match.
Choose a theme early on, and repurpose old materials to save money and make your decorations feel more personal.
Part of our Diy party decor guide.
Creating a Cohesive Decor Layout
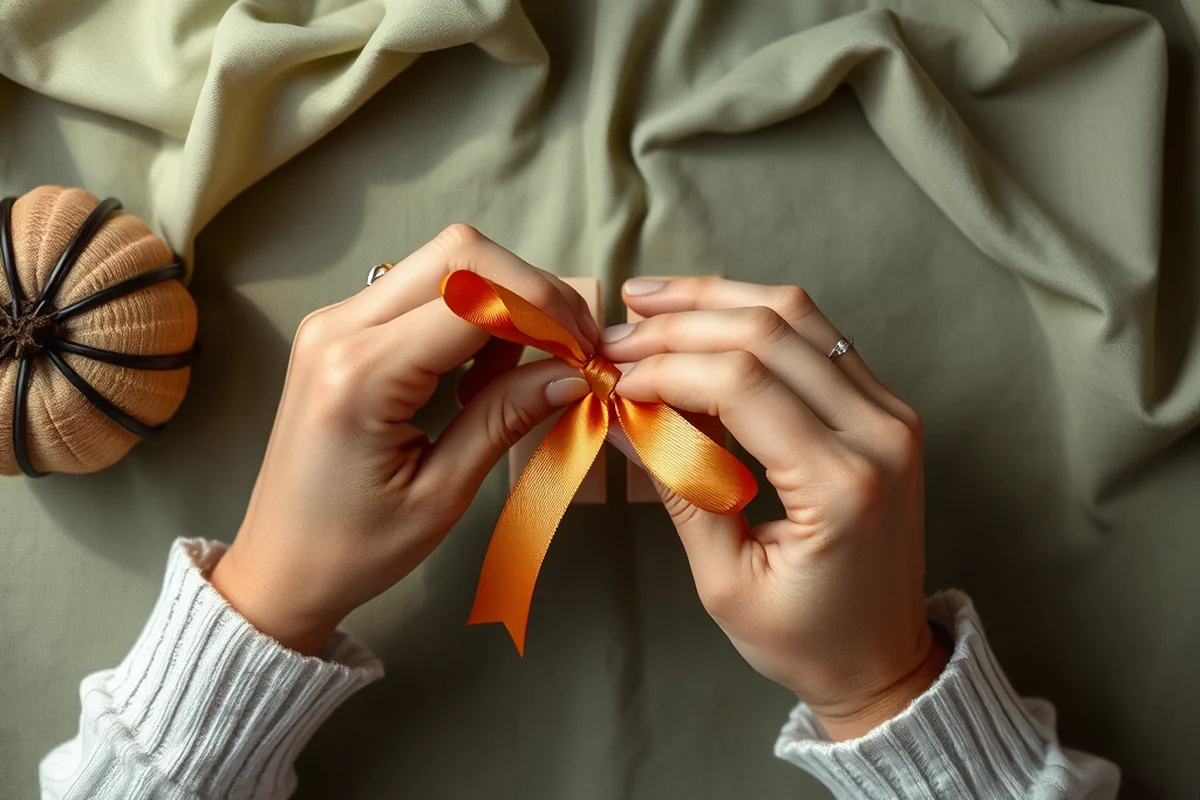
Once your theme is set, it’s time to plan how the decorations will be arranged throughout the space. I’ve found that using a color palette and a consistent texture (like matte versus glossy) helps tie everything together. For example, in one of my parties, I used dark red curtains, gold trim, and black velvet drapes — all in the same texture — which gave the space a cohesive, high-end feel.
I also like to think about how the decorations will be viewed from different angles. For instance, hanging decorations at eye level or placing them on tables where guests will sit ensures that the details are visible and not lost in the background. This approach helps make the event feel more immersive and intentional.
Using layers of decor — like a mix of floating candles, hanging banners, and table centerpieces — adds depth and dimension to the space. This layering technique has always worked well for me, as it prevents the decor from feeling flat or overwhelming.
A cohesive layout makes the space feel like it was designed with purpose.
Related: Diy christmas party decorations
DIY Decor Ideas That Are Easy and Effective
One of my favorite DIY projects is making handmade banners. I used black fabric, white paint. A bit of glitter to create a spooky banner with phrases like 'Welcome to the Haunted House.' This project was simple, took about an hour, and really set the mood for the party. I’ve also used cardboard to create paper lanterns with spooky silhouettes and painted them with dark colors.
Another idea is to create DIY centerpieces using candles, dried flowers, and spooky elements like fake spiders or carved pumpkins. I used mason jars filled with candles and placed them on tables, surrounded by small Halloween-themed items. This not only looked great but also added a warm, inviting glow to the space.
I also like to make DIY wall art using canvas and paint. I painted simple haunted house scenes or spooky forest scenes that matched the theme of the party. These pieces can be reused every year, which is both eco-friendly and cost-effective.
Choose easy-to-find materials like fabric, paint, and candles, and layer them for a more visually interesting space.
“This year, I found myself standing in my living room at 10 p.m.”— Decorbyhand editors
Related: Diy 30th birthday party invitations
Adding Personal Touches to Your Decor
One of the best ways to make your decorations feel more personal is by adding photos or handmade items that reflect your style or the theme of the party. For example, I once created a photo wall with black-and-white photos of haunted houses and spooky landscapes. I hung them in a grid and surrounded them with black fabric and string lights.
Another idea is to create custom table numbers or invitations that match your theme. I’ve used hand-painted wooden numbers and cards with spooky phrases like 'Welcome to the Witch's Ball' or 'Step into the Shadows.' These custom touches add a unique, personal feel that guests will appreciate.
I’ve also made custom Halloween-themed place cards using cardboard, paint, and spooky illustrations. These place cards not only guide guests to their tables but also add a fun, decorative element to the party. They can be reused for future events, which is both cost-effective and eco-friendly.
Related: Budget party decor for beginners
Lighting and Ambiance for a Spooky Mood
Lighting plays a huge role in setting the mood for a Halloween party, and I’ve found that using dim, flickering lights or colored bulbs can transform a space into a spooky, immersive environment. I’ve used string lights, lanterns, and candles to create a soft, ambient glow that adds to the overall atmosphere.
For one of my parties, I used black string lights that hung from the ceiling and created a spooky, haunted look. I also used colored bulbs — like red, green, and purple — to add visual interest and depth. The combination of dim lighting and colored bulbs helped create a dramatic, immersive experience for the guests.
I’ve also experimented with using spotlights and flashlights to create dramatic effects. For example, I used a spotlight to highlight a Halloween banner or a centerpiece, which added a dramatic, theatrical feel to the space. This technique worked especially well for a grown-up Halloween party that had a more sophisticated, theatrical vibe.
Related: Decorating for a party ideas printable
Making Sure Your Decor Is Safe and Functional
When planning your decorations, it’s important to consider safety and functionality. I’ve had a few instances where I used too many candles or left decorations in high-traffic areas, which led to small accidents. To avoid this, I always make sure that all candles are placed in safe locations and that the decorations are not in the way of guests’ movement.
I also use non-flammable materials for decorations and avoid using items that could be mistaken for food. For example, I once used fake spiders as part of the decor, but I made sure they were placed in areas where guests wouldn’t be eating. This helped prevent any confusion or accidents.
Another thing I’ve learned is to avoid over-decorating. I’ve had parties where the space felt too cluttered and overwhelming, which made the event less enjoyable for guests. Instead, I now focus on creating a balanced, visually appealing space that feels immersive but not overwhelming.
Balance and safety make the event more enjoyable for everyone.
Related: Simple party decor for beginners
Staying Within Your Budget
One of the biggest advantages of DIY Halloween decorations is that they are often more affordable than buying everything new. I’ve found that sourcing materials from secondhand stores, using old decorations, and repurposing items can save you a lot of money. For example, I’ve used old picture frames, fabric scraps, and leftover paint from previous projects to create new decorations.
I also like to shop at craft stores and dollar stores for affordable, easy-to-use materials. For instance, I once used cheap cardboard to create paper lanterns and painted them with spooky silhouettes. This project was simple, took about an hour, and gave the space a unique, handmade look.
Another way to stay within your budget is to plan your decorations in advance. I’ve found that planning ahead helps me avoid last-minute purchases, which can be expensive. I also like to mix and match materials — using a combination of new and old items — to create a space that feels cohesive without breaking the bank.
🪙 Budget-Friendly Halloween Party
Create a spooky atmosphere with affordable materials like fabric, paint, and repurposed items.
🏠 Small-Space Halloween Party
Transform a small room into a spooky space using wall art, string lights, and layered decor.
🌳 Outdoor Halloween Party
Use natural elements like branches, leaves, and string lights to create a spooky, immersive outdoor space.
🍷 Grown-Up Halloween Party
Opt for sophisticated, elegant decor with a spooky twist — think black velvet, candlelit centerpieces, and dramatic lighting.
✨ Low-Effort Halloween Party
Keep things simple with store-bought decor, minimal DIY projects, and a focus on ambiance and lighting.
| The mistake | Why it happens | The fix |
|---|---|---|
| Using too many candles or leaving them unattended | This can be a fire hazard and make the space unsafe for guests. | Use flameless candles or place real candles in safe, supervised areas. Always have a fire extinguisher on hand. |
| Over-decorating the space | This can make the space feel overwhelming and less enjoyable for guests. | Focus on creating a balanced, visually appealing space with a mix of layers and textures. |
| Using flammable materials for decorations | This can be a fire hazard and may not be safe for the event space. | Use non-flammable materials like fabric, cardboard, and paper for decorations. |
| Not planning ahead and making last-minute purchases | This can lead to higher costs and less time to create a cohesive look. | Plan your decorations in advance and source materials early to avoid last-minute purchases. |
Diy Halloween Decorations
Common Questions
How can I create a spooky atmosphere without spending a lot of money?
What are some easy DIY Halloween decoration ideas?
How do I make sure my decorations are safe for guests?
What are some good ways to incorporate personal touches into my Halloween decorations?
References
- Ever Wonder about Waste? - Greensboro-nc.gov (greensboro-nc.gov)
- CHAPEA 2: Audio Log 1 - NASA (nasa.gov)
Cite this guide
Decorbyhand (2026). Diy Halloween Decorations. https://decorbyhand.com/diy-halloween-decorations/
Feel free to cite or share this guide.