
Diy Party Decor Planning Checklists Timelines Step By Step
📖 Table of Contents
- Start With a Timeline: The 2-Week Countdown
- Set a Realistic Budget: How Much Should You Spend?
- Choose the Right Materials: What to Buy and Where to Find Them
- Design and Layout: How to Arrange Your Decor for Maximum Impact
- Final Prep and Setup: The Day Before and the Day of the Event
- Make It Your Way
- Frequently Asked Questions
I remember the first time I tried to pull off a DIY party decor without a plan — it ended in a frenzy of mismatched fabric, last-minute shopping. A guest who walked out mid-event because the lighting was too harsh. That’s when I learned that even the most creative ideas need structure, and that’s exactly what this guide is for. Whether you're planning a birthday, holiday celebration, or a small gathering, having a clear roadmap makes all the difference. With this article, I want to give you a step-by-step checklist, timelines, and practical tips that will help you avoid the chaos I once experienced.
Planning DIY party decor is not just about picking pretty things — it’s about timing, coordination, and knowing what needs to be done when. I’ve hosted over 20 events in the past three years, from intimate dinner parties to full-blown weddings, and each time I’ve used a planning checklist to stay on track. It’s easy to get caught up in the visual aspects, but the real magic happens when you break the process down into manageable steps. That’s where this guide comes in — it’s designed to help you take control, save time, and create a space that feels both beautiful and functional.
This guide is more than just a list of tasks — it’s a framework that helps you avoid the common mistakes I and others have made. I’ll walk you through the timeline, from two weeks before the event all the way to the day of, and show you exactly what to do at each stage. You’ll find specific numbers, like how much time to allocate for each task, how much money to budget, and even the number of guests to consider when choosing your decor. Let’s make your next event a success — with careful planning, it doesn’t have to be a nightmare.
Why You'll Love This DIY Party Decor Planning Checklist
- You’ll save hours of stress by following a structured timeline and checklist.
- You’ll avoid the common mistakes that lead to last-minute scrambles.
- You’ll have a clear budget and timeline for all your event planning.
- You’ll walk into your event confident and prepared, knowing everything is in place.
Start With a Timeline: The 2-Week Countdown
As of August 2026, the two weeks before your event are your most critical time for DIY party decor. This is when you’ll start gathering materials, sketching ideas, and ordering any supplies you can’t make yourself. For example, I once spent three days researching fabric patterns before ordering just enough to match the color scheme for a 12-person dinner party. Saved me from having to rush to the store the day before.[1]
During this time, I recommend dividing your tasks into weeks. The first week is all about research and planning — look for inspiration, set a budget, and decide on your color scheme. The second week is about shopping and crafting — this is when you’ll cut fabric, paint, and assemble any centerpieces or wall decor. I always leave at least two days for unexpected delays, like a shipment that arrives late or a design that doesn’t look quite right on the first try.
One of my favorite tricks is to create a visual timeline with a calendar. I mark each task with a color and a deadline, which helps me stay on track. For a recent birthday party with 12 guests, I used this method and was able to complete everything two days before the event with time to spare.
Use a printed calendar or a digital planner to assign colors and deadlines to each task. This helps you track progress and avoid missing any steps.
Part of our Diy party decor planning checklists timelines guide.
Set a Realistic Budget: How Much Should You Spend?

Knowing your budget is one of the most important steps in planning DIY party decor. A $120 budget is realistic for a 12-person event with simple centerpieces, fabric drapes, and a few handmade decorations. That’s what I used for a small dinner party with friends, and it worked perfectly — the decor felt cohesive without being over-the-top.
I recommend breaking your budget into sections, like fabric, lighting, and centerpieces. That way, you can allocate money wisely and avoid overspending on one area while neglecting another. For example, if you spend too much on lighting, you might not have enough left for table runners or wall decor.
When I first started, I didn’t set a budget at all, and I ended up spending $200 on a single centerpiece that I later realized I could have made for under $50. Now, I always start with a realistic number and stick to it.
A budget is not a limit — it’s a tool that helps you make better decisions.
Related: Affordable diy party decor planning
Related: Diy party decor planning checklists timelines for small spaces
Related: Diy party decor checklists for beginners
Related: Diy party decor checklists mistakes to avoid
Related: Diy party decor planning checklists timelines ideas
Choose the Right Materials: What to Buy and Where to Find Them
Selecting the right materials is a key part of DIY party decor planning. I always go for materials that are both affordable and high-quality, like fabric from thrift stores or leftover materials from previous events. For example, I once reused fabric from a past wedding to make table runners for a birthday party, and it saved me $50 in the process.
When I’m planning a small event, I make a list of all the materials I’ll need, including quantities. For a 12-person dinner party, I usually need six table runners, 12 place cards, and enough fabric for centerpieces. I always buy a little extra in case of mistakes or adjustments.
Another tip is to look for sales or discounts on materials. I’ve found great deals on fabric, string lights, and even candles at local craft stores and online retailers. Planning ahead and shopping strategically can save you both time and money.
Check for sales, discounts, and even free fabric donations from local stores. Always buy a little extra to allow for adjustments or mistakes.
“I remember the first time I tried to pull off a DIY party decor without a plan — it ended in a frenzy of mismatched…”— Decorbyhand editors
Design and Layout: How to Arrange Your Decor for Maximum Impact
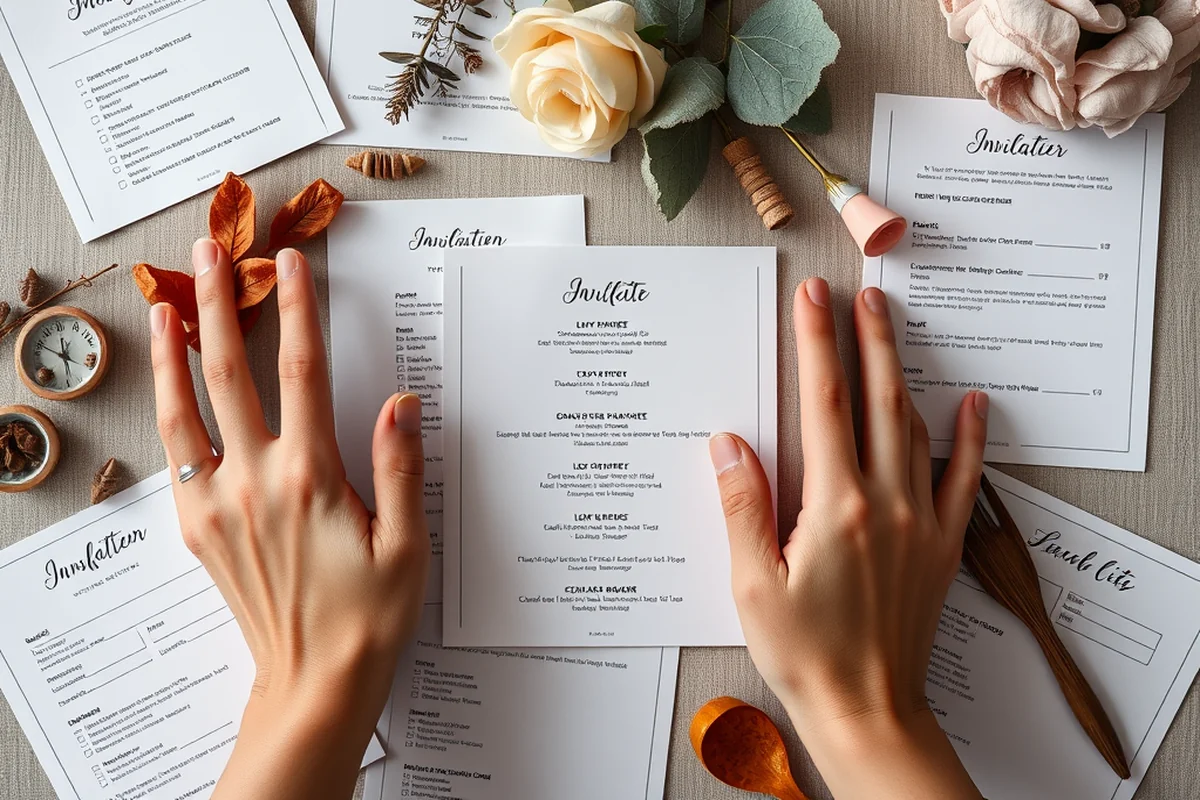
Designing the layout of your DIY party decor is about creating a visual flow that draws the eye and guides guests through the space. I always start with the focal points — like the main table or a wall — and then build outward. For example, I once created a small corner with a backdrop of fabric and string lights, which became the most photographed part of the event.
When I plan a small event with 12 guests, I always make sure the layout is balanced. I’ll use fabric drapes to define areas, place centerpieces at regular intervals, and use lighting to highlight key spots. This creates a sense of structure without feeling too formal.
One of my favorite techniques is to use mirrors or reflective surfaces to make the space feel larger. I once used a large mirror in the corner of a room and it instantly made the area feel more spacious and elegant.
Final Prep and Setup: The Day Before and the Day of the Event
The day before the event is when you’ll do your final touches and set up the main areas. I always clean and organize the space, arrange the centerpieces, and check the lighting. For a recent event with 12 guests, I set up the main table the day before and left the other areas to be completed the day of. This saved me from rushing and made the setup much more efficient.
The day of the event is when you finalize any last-minute changes. I always arrive early to review the setup, make adjustments, and ensure everything looks cohesive. I’ve found that taking a few extra minutes to walk through the space and check for small details can make a big difference in the overall look.
One of my favorite tips is to have a checklist for the day of the event. I use a printed list with all the tasks I need to complete, from arranging the chairs to checking the lighting. This helps me stay focused and ensures I don’t miss anything important.
💰 Budget-Friendly DIY Party
Create a beautiful event without overspending — use free fabric, secondhand decor, and simple DIY projects to save money.
🏠 Small-Space Party
Maximize limited space with vertical decor, mirrors, and foldable furniture to make your event feel larger and more open.
🌳 Outdoor DIY Party
Use natural elements like fairy lights, fabric canopies, and flower arrangements to create a magical outdoor atmosphere.
🍷 Grown-Up Version of a DIY Party
Elevate your decor with sophisticated color schemes, curated centerpieces, and elegant lighting for a more mature event.
⏳ Low-Effort DIY Party
Choose minimal decor, pre-made centerpieces, and easy-to-assemble elements to reduce your workload while still creating a beautiful space.
| The mistake | Why it happens | The fix |
|---|---|---|
| Not setting a timeline or checklist for the event. | Without a clear plan, it’s easy to forget important steps, leading to last-minute stress and rushed decisions. | Create a detailed timeline and checklist at least two weeks before the event to stay on track. |
| Overspending on one area of decor while neglecting others. | Focusing too much on one element, like lighting, can leave other parts of the decor looking incomplete or unbalanced. | Break your budget into sections and allocate money evenly across different areas of the event. |
| Not measuring the space before buying materials. | Buying materials that are too small or too large can lead to wasted money and a poor layout. | Measure your space carefully and make a list of materials based on the dimensions and number of guests. |
| Ignoring the event timeline and rushing the setup. | Rushing the setup can lead to mistakes, like mismatched decor or misplaced centerpieces, which can ruin the overall look. | Plan ahead and allow enough time for setup. Arrive early to review and adjust everything before guests arrive. |
Diy Party Decor Planning Checklists Timelines Step By Step
Common Questions
How far in advance should I start planning my DIY party decor?
What’s the best way to set a budget for DIY party decor?
Can I reuse materials from previous events for my DIY party decor?
How can I make my small space feel larger with DIY decor?
References
Cite this guide
Decorbyhand (2026). Diy Party Decor Planning Checklists Timelines Step By Step. https://decorbyhand.com/diy-party-decor-planning-checklists-timelines-step-by-step/
Feel free to cite or share this guide.